|
A fun and calming activity that I did over April vacation was rock stacking. Rock stacking originally started out as "Cairns" or piles of rocks that served as markers or memorials. Today, people stack rocks for many symbolic and creative reasons. I think it is just great to get outside, connect with nature, battle gravity, and creatively stack rocks. I came away feeling calm and balanced myself - just like the rocks. Be optimistic and persevere through the challenges. 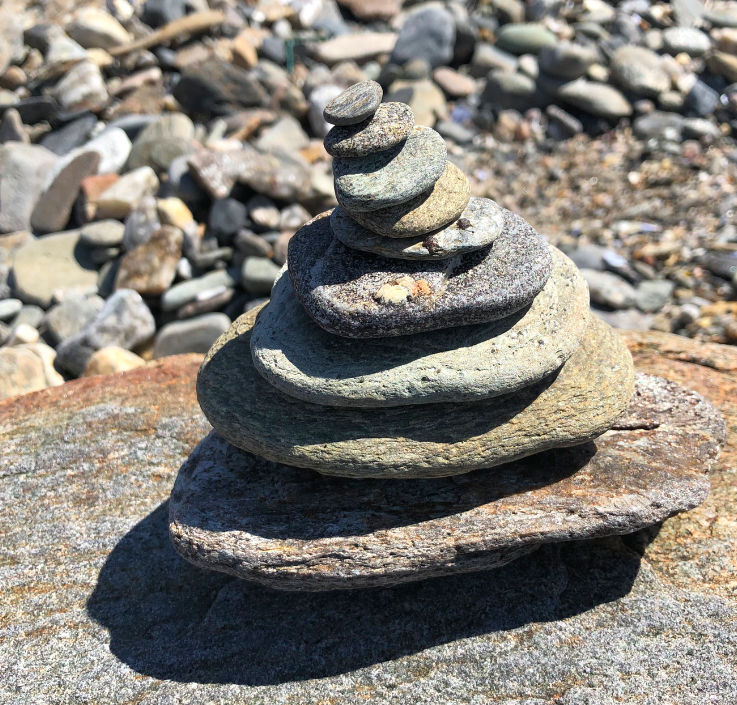
0 Comments
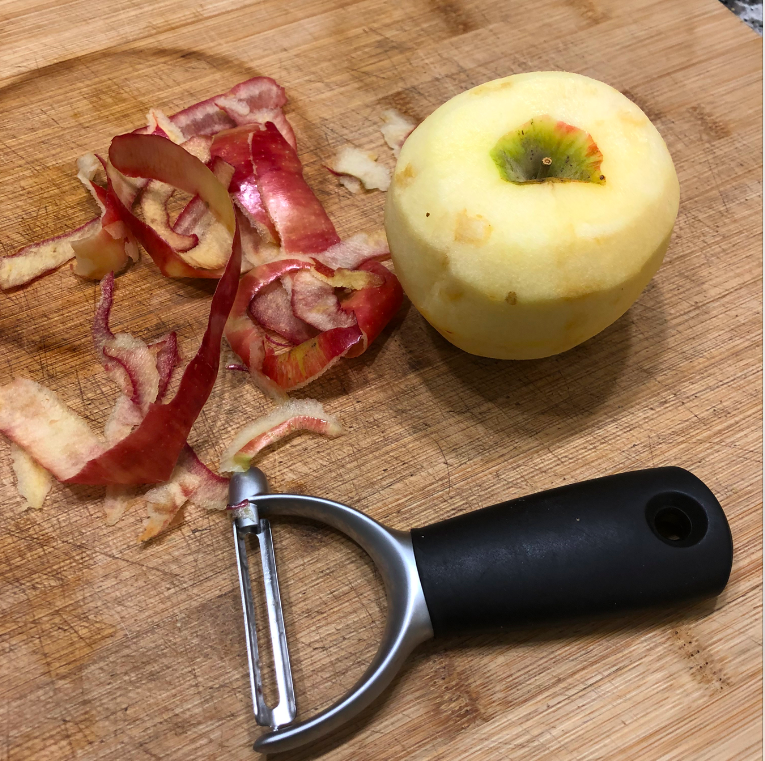
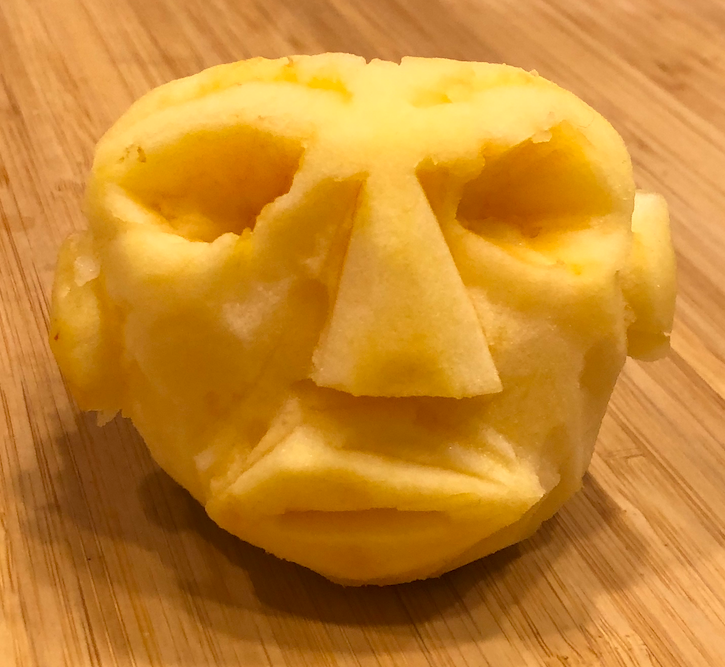
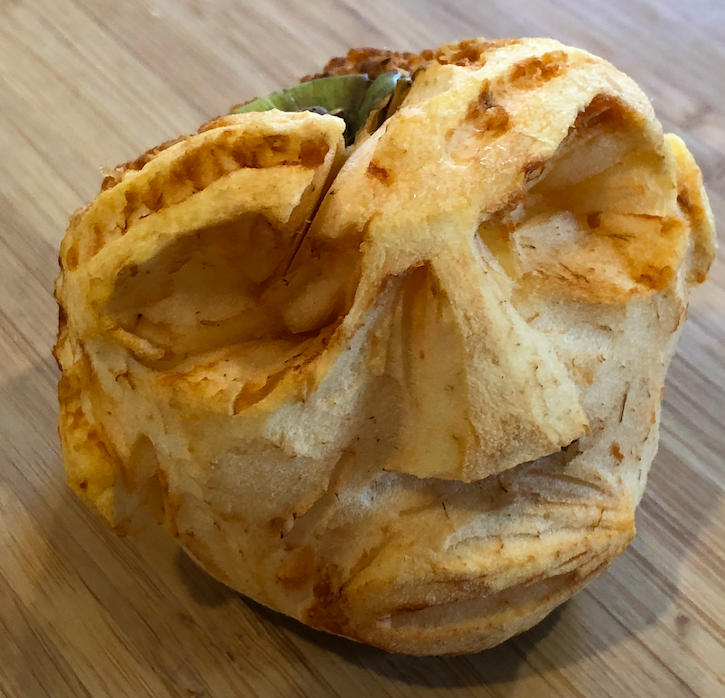
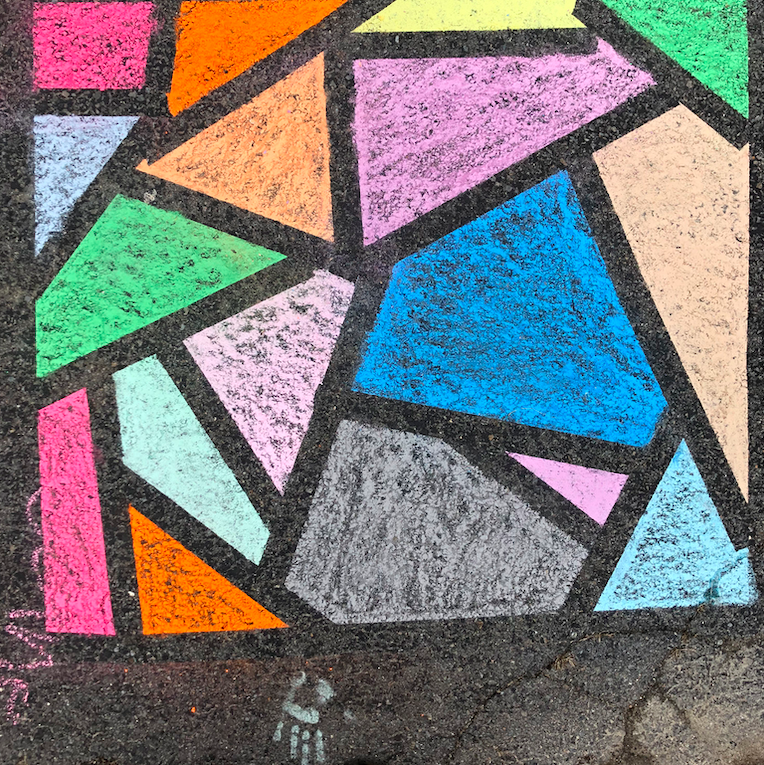
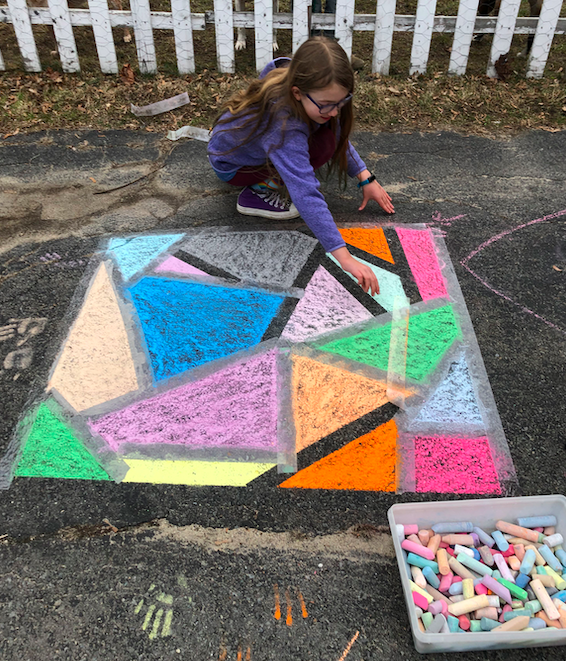
Apple Carving:This art activity was inspired by an apple carving that a PCS student had shared during last weeks Art Share. It looked like so much fun, that I decided I wanted to do it too! So, here is my attempt... I choose a nice, big Fuji apple that had some blemishes on it already. I think any type of apple would work. First, I used a vegetable peeler to remove all of the apple's skin. Next, I started to think about the facial features that I wanted to include on the face (Eyes, Ears, Nose, Mouth and Lips). As I thought about these features, I also started to think about which features protruded out from the face (Nose, Ears, Lips) and which facial features receded into the apple (Eyes, Mouth). Next, I lightly drew the shapes of all of the facial features onto the apple. For the facial features that protrude outward (Nose, Ears & Lips), I left those surface shapes and cut away some of the apple around these outward protruding shapes. For the inward receding shapes (Mouth & Eyes), I started to cut into the apple and remove the apple in those shapes. From there, I just did the best that I could to give a somewhat realistic form to all of the facial features. The hardest part is to not cut off too much of the facial features that protrude outward (Nose, Ears, & Lips). If you make some mistakes, don't stress too much as ultimately most everything comes out looking great after the apple starts to dry and shrivel up. Also, you can always just eat the apple and start over on another apple. My daughter yummed up all of the apple chunks that I carved out of the apple. Once I was done carving the apple, I set aside the apple aside on a small plate to start drying. As the apples dry out, they will get more wrinkles, they will get browner and they should get dried out and harder as well. Below, I've included some pictures of my apple carving experience. I will try to add more photos as my apple dries out more. Hopefully, it gets more and more interesting as it continues to dry out. This week I want to challenge you to use "Tape Resist" in your artwork. A "Tape Resist" is when you use tape to cover or block off an area of the surface that you are going to paint or draw on. The tape blocks the paint or drawing tools from getting to the surface (paper, canvas, blacktop), After you are all done drawing or painting, you then remove the tape. The areas where the tape was before are now left blank, but your other colors remain. I like "Tape Resist" because it creates shapes with clean, hard, well-defined edges. In the pictures below, my daughter used packing tape to create a tape resist pattern, then colored in the different shapes with different color chalk, and finally, when she was all done coloring, she removed the tape and celebrated her finished artwork! This is a technique that can be used with lots of different medias or tools; and it can be done inside or outside. Have fun and be creative. |
AuthorJonathan Graffius is the K-6 Visual art teacher at PCS. Jonathan's personal art consists of paintings, oil pastels, photography and sculpture. The primary purpose of this blog is to keep the PCS community informed of current art news and activities at PCS. This blog will also serve as a tool for encouraging student creativity and artistic expression. Members of the PCS community are invited to participate in this blog by adding your comments. This blog will be maintained to ensure a positive and supportive environment. Should you have any issues or concerns, please contact me directly at: [email protected]. Archives
May 2020
Categories |


 RSS Feed